(Embedded) STM32F429I-Discovery
When should you consider a personal project complete? When should it be shelved for some time? I find that when your motivation is really down and if there is no financial incentive to continue, it means it’s a good time to stop or pause. At the beginning of the month, I decided to try something different again and explore a different aspect of computer technology. I bought a STM32F429I-Discovery micro-controller on January 15th and I’ve been exploring its capabilities since.
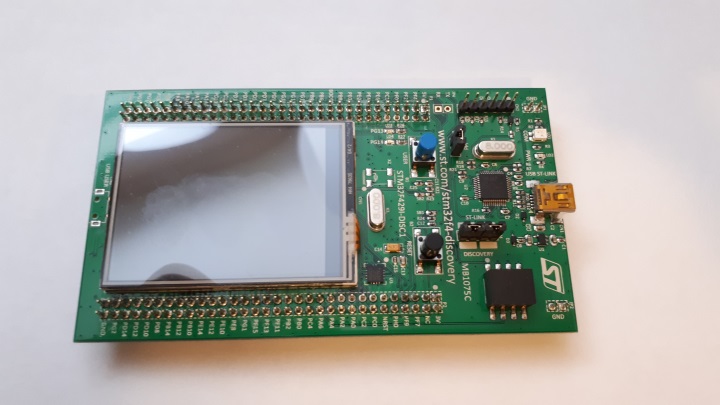
STM32F429I-Discovery
This board from STMicroelectronics contains a small Touch LCD screen, a USB link controller for easy upload/debugging and 128 pins that can be used to verify the board’s functionality. Although most of the pins are connected on the board to different components, such as LEDs and one push-button: 16 pins are directly programmable and not connected to anything on the board, so you can extend the board with a bread-board and your own circuitry.
Why this micro-controller?
When researching what board to buy, I reviewed the Raspberry Pi and also looked at the Arduino offerings. The Raspberry Pi’s popularity is undeniable and I like the idea of running a Linux OS on a small board. I feel that the Raspberry Pi should be a very capable offering, but it didn’t feel like enough of a challenge to someone of my experience. The Arduino boards that I saw looked very interesting and not dissimilar from the offering that STMicroelectronics. After considerations, I bought the STM32F429I-Discovery because STMicroelectronics has a complete hardware package and includes many examples and the development tools, all from the same company.
How easy is it to get into?
The free development tools that STMicroelectronics offers are, in fact, developped by a third party. The set of Eclipse plug-ins is called OpenSTM32 and is easy to install. It quickly gives you an impression of productivity. Unfortunately, while all the examples provided by STMicroelectronics worked perfectly: getting the example code to work in your own project is actually dark magic that involves a lot of Eclipse project configuration dialogs and LD scripts. A simple task, like copying the source code from one official example and pasting it in a new project does not work at all. I feel that the strangeness of the Eclipse integration is to blame for this: the new project creation wizard fails when adding an extra library like the STemWin library. The STemWin library provides a set of functions to create UI on the touch-screen and is understandably ubiquitous in the examples.
What did I achieve after a week?
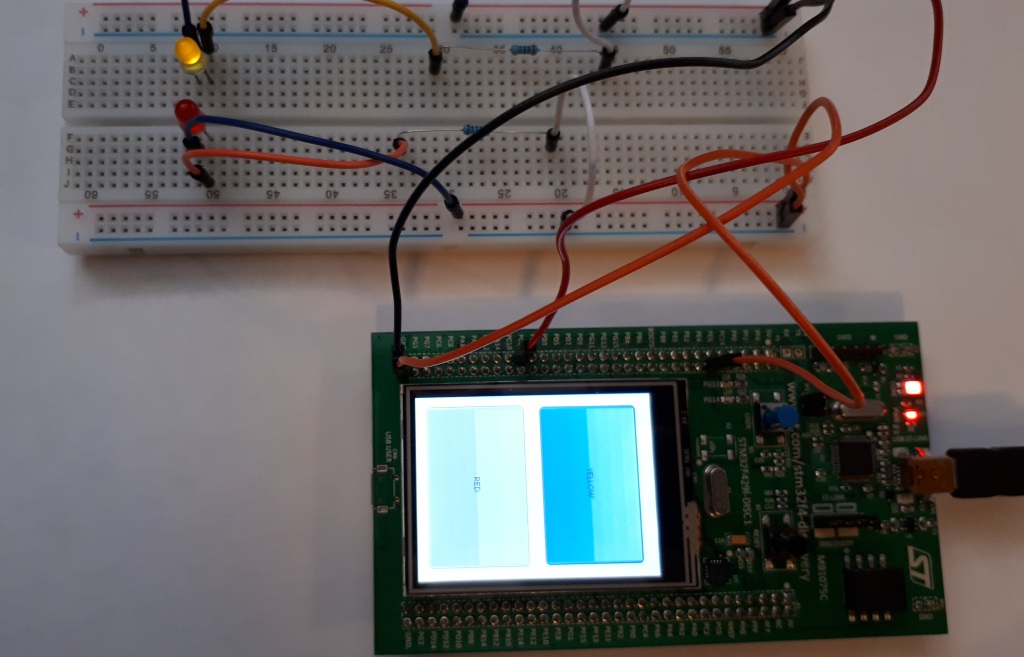
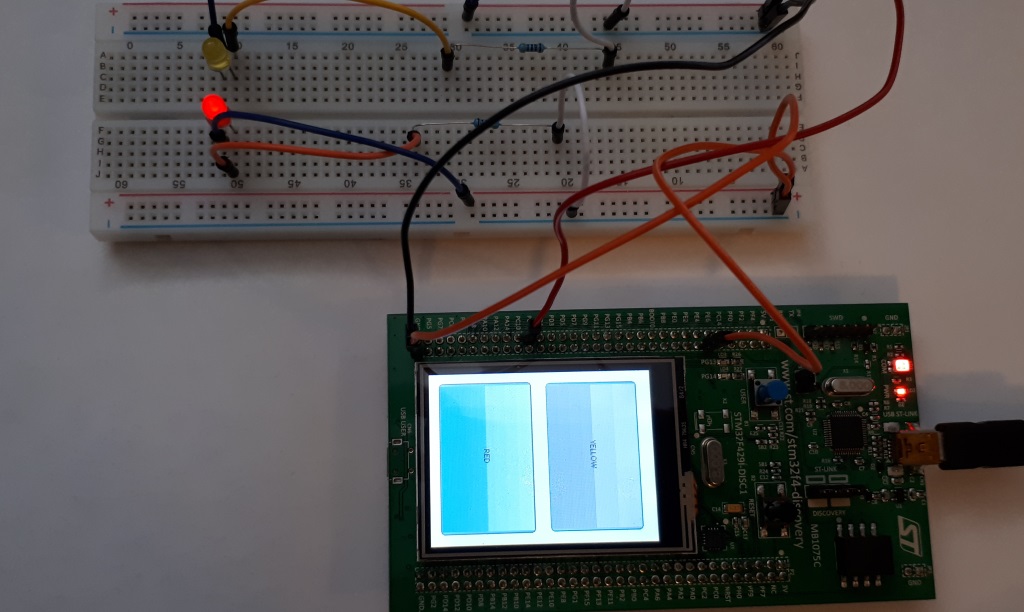
Here’s a screenshot with the board running a simple UI application with two buttons. The UI was made using the STemWin library tools. When the buttons are pressed, it turns on a LED on the bread-board. I had to refresh my knowledge of micro-electronics to hook up the breadboard, but I’m happy to say that I managed this small project without frying any component!
|
|
This may not seem like much, but it has all the components for the larger project that I want to achieve: to control the rail switches on the miniature train yard that my husband is building!