(Blender) Character Update
Last week-end, I was writing down some ideas for small progress and improving the character came up on top. I’ve been using a version of the Mixamo Y-Bot that I split apart a few months ago. It provided the flexibility that I wanted, but looked somewhat insect-like and did not fit the polygonal-look of the other assets, because of its smoothness.
Character Mesh Changes
My wishlist had quite a few items on it: including reforming the hands, feet and hips so that the character looks more human. I wanted to split out the pelvis and the abdomen, since that was causing some animation issues: Mixamo has them with separate bones. Finally, I also wanted to reduce the polygon count and give some of the edges a sharp look.
In order to achieve these results, I applied some ‘Boolean’ and ‘Decimate’ modifiers on all the meshes. Y-Bot had separate spheres, centered at each bone. The union of these spheres with the bone meshes was cleaned manually and then I sharpened some edges manually and with a 20 degree angle clamp.
Results
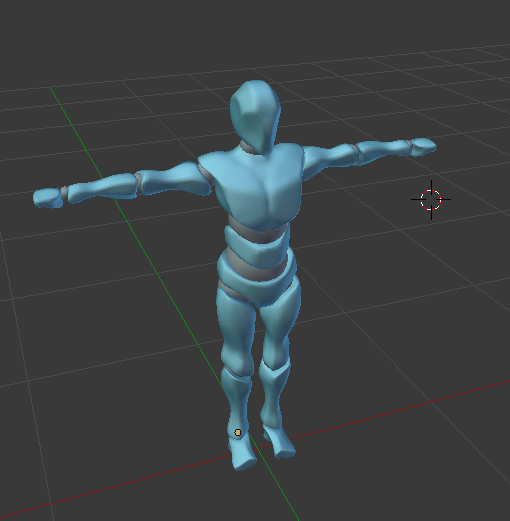
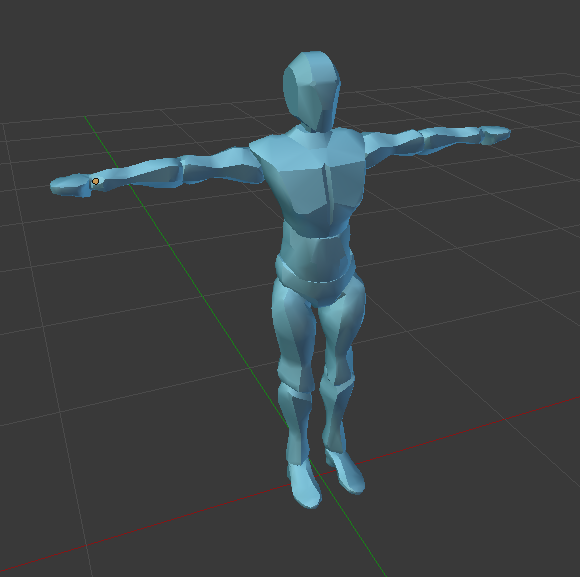
This is definitely still a work-in-progress. The following screenshots show well what I’m aiming for. It is worth noting that the Split Mixamo Y-Bot featured 34k triangles. The simplified character that I produced features 7700 triangles.
| Split Mixamo Y-Bot | Simplified Character |
 |
 |
Blender Impressions
I admit that Blender is a tool that I’ve sometimes frowned upon. At my previous work-places, I had built and helped build toolchains and workflows based on the expensive Autodesk 3dsMax and Maya. In the past week, I learned to tame Blender and modify my workflows to work well in it. I found that the main difficulty in taming Blender is the online help that provides direct help, focused on hot-keys, rather than explaining to the users the ideas and thought-processes behind the decent user interface.
Mirroring
To upgrade the arms and legs, I only worked on the left-side of the body. Then, I used the following steps to create the right-side meshes. This workflow also places the right-side meshes with the correct origin for the animations.
- Add the ‘Mirror’ modifier on the left-side mesh, deselect the ‘merge’ option. This creates a composite mesh with the left-side and the right-side overlapping. ‘Apply’ the modifier.
- Enter the vertex modification mode for the composite mesh.
- Select one of the vertices for the right-side part of the composite mesh.
- Press and hold CTRL + NUMPAD_PLUS until the whole right-side part of the composite mesh is selected.
- Press ‘P’ and select ‘Selection’ to split the composite mesh into a right-side mesh and the left-side mesh back.
- Select the old ‘Right(mesh)’ and click on the ‘pin’ icon in the Property Editor.
- Select the new right-side mesh object, named ‘Left(mesh).001’ by the split operation.
- Right-click on the X component of the transform of the pinned ‘Right(mesh)’ object and choose ‘Copy All to Selected’.
- Unpin and delete the old ‘Right(mesh)’.
- Rename the new mesh object from ‘Left(mesh).001’ to ‘Right(mesh)’.